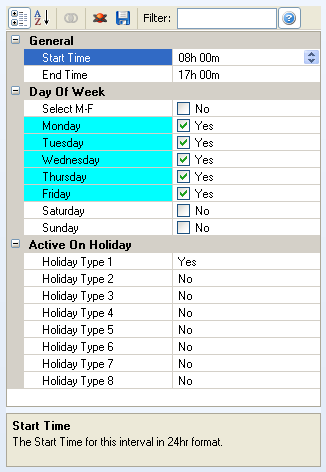
Depending upon the task being performed, the work space/data display area can include a grid of parameters, options, and values that may be edited. Displayed below is an example of the grid used to define Time Schedules.
Grid information is initially displayed by categories, each of which can be expanded or contracted.

Clicking in a cell in the right column of the grid enables editing options for that cell as shown in the Start Time cell above. When you click in a cell, the bottom field in the grid provides a brief description of the purpose of that cell.
The top row of icons perform the following tasks:
 - sorts Grid information by categories (as shown in the figure above)
 - sorts Grid information alphabetically
 - when applicable, allows you to select multiple cells in which to enter the same information
 - when applicable, displays advanced options
 - saves changes made in the Grid
 - filters options displayed in the Grid
 - opens the online help file
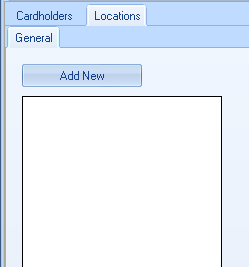
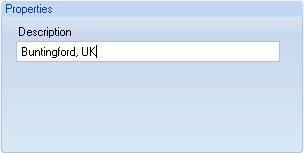
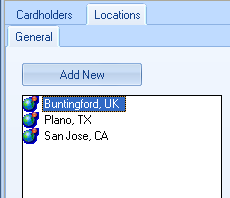
Several of the grid screens allow you to create pull-down menu options to be used in that window. An example of this is the Company Location field where you may wish to create a list of locations for your company offices.


 icon to save the entries.
