Offline License Activation
Activating Doors.NET Without an Internet Connection
You can activate Doors.NET via e-mail if you do not have an active internet connection, or if the connection is being blocked by a firewall or security setting.
This is done by e-mailing the license file to Keri, receiving an updated file with a digital signature, and then overwriting the original with the new. This process typically takes one business day to complete.
- Following installation of the software you will be prompted to run the License Manager.
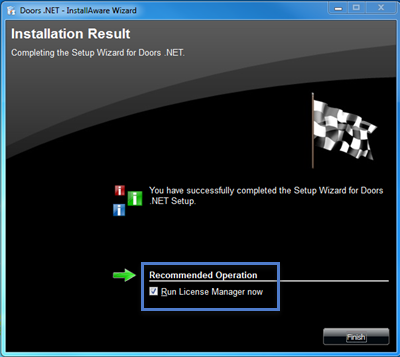
- Click the Finish button and the License Activation Wizard will open.
- Click Next on the welcome page.
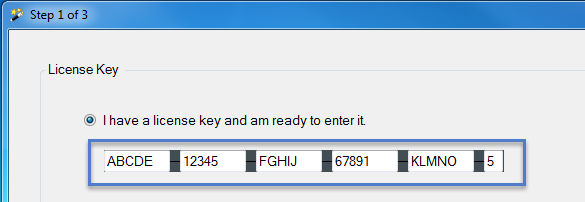
- Step 1 of 3 - Enter your 26-character Doors.NET license key. Then click Next.
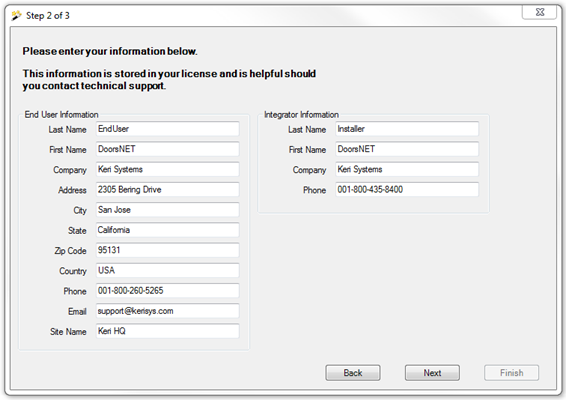
- Step 2 of 3 - Enter your customer and installer details, then Next again.
- Step 3 of 3 - Review the entered license key then click the Finish button.
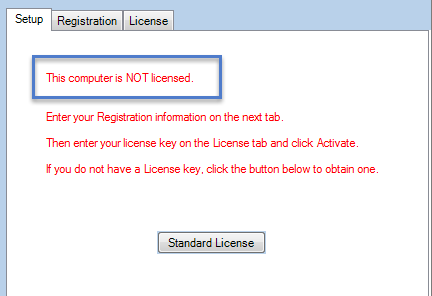
- If there is no internet connection or a restricted internet connection you will see the following message:
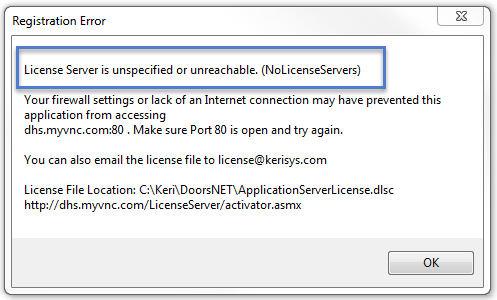
- Click OK and the License Manager will immediately open. There will be another message which will state the computer is not licensed.
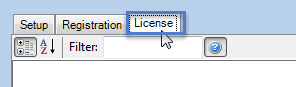
- Ensure Application Server is highlighted on the left-hand side of the License Manager.
- Click on the License tab.
- At the bottom of the license page you will see the license key that you entered in step 1 of the License Wizard.
- Check the Offline Registration option. Then click the Activate button.

- The offline license key will be immediately created and a notification will appear informing you of where this file can be found.
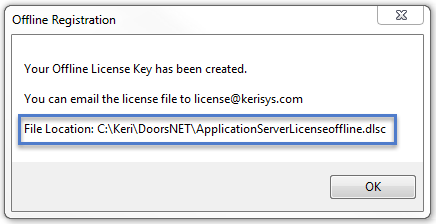
- Email a copy of this file to license@kerisys.com for US customers, or to tech-support@kerisystems.co.uk for customer in the UK and outside of the US.
- Close the License Manager.
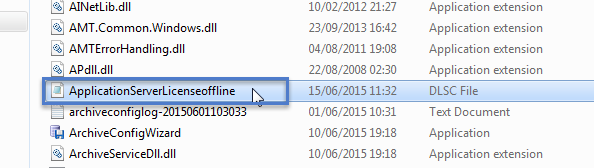
- Within 1 business day you should receive your activated license file as an e-mail attachment, it will be renamed ApplicationServerLicense.dlsc.
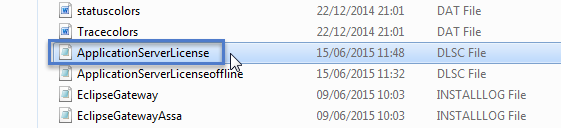
- Copy the received ApplicationServerLicense.dlsc file into the C:\Keri\DoorsNET\ directory.
- Open the License Manager again (via Start Menu >> All Programs >> DoorsNET >> License Manager.
- Click Yes to the prompt that informs you of the licensed services that need to be installed.
- Once the Doors.NET Windows Services have been installed you will be ready to setup your hardware gateway(s).